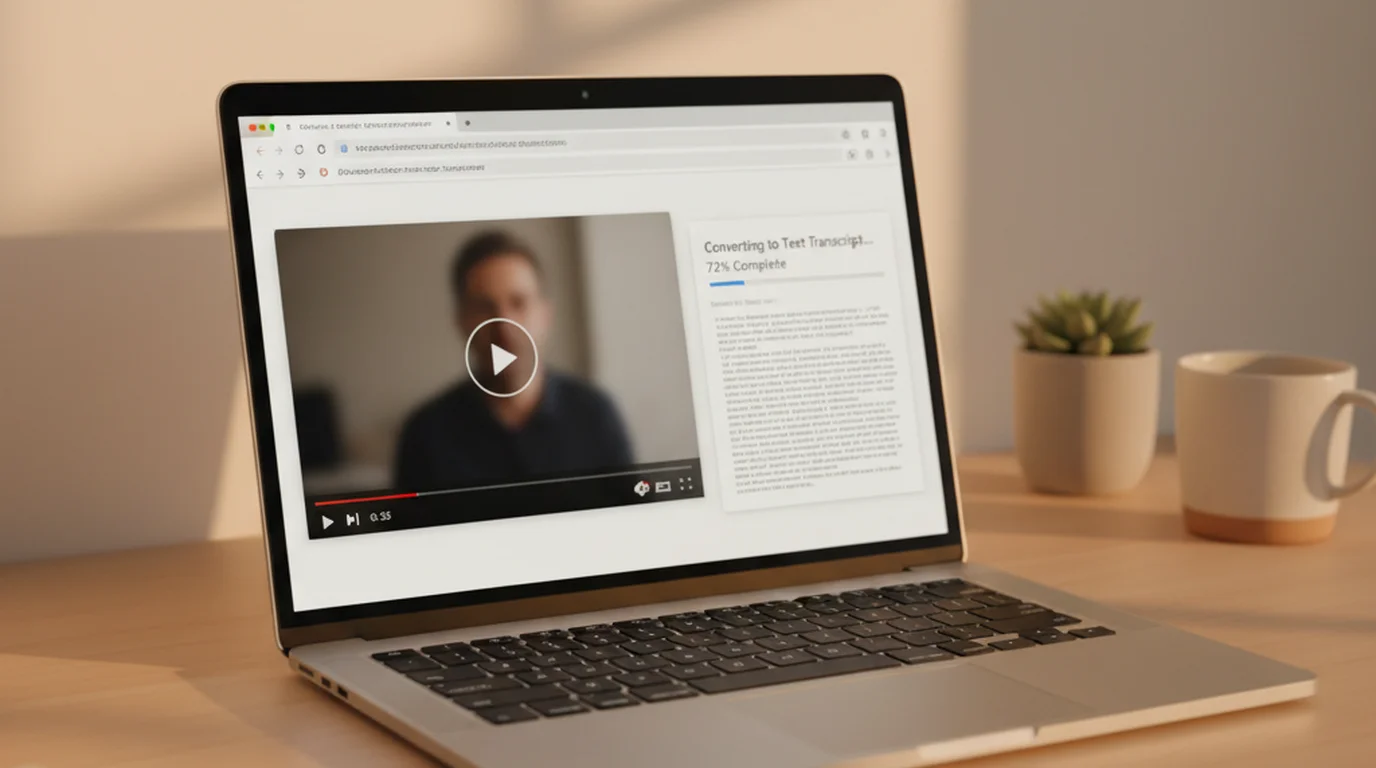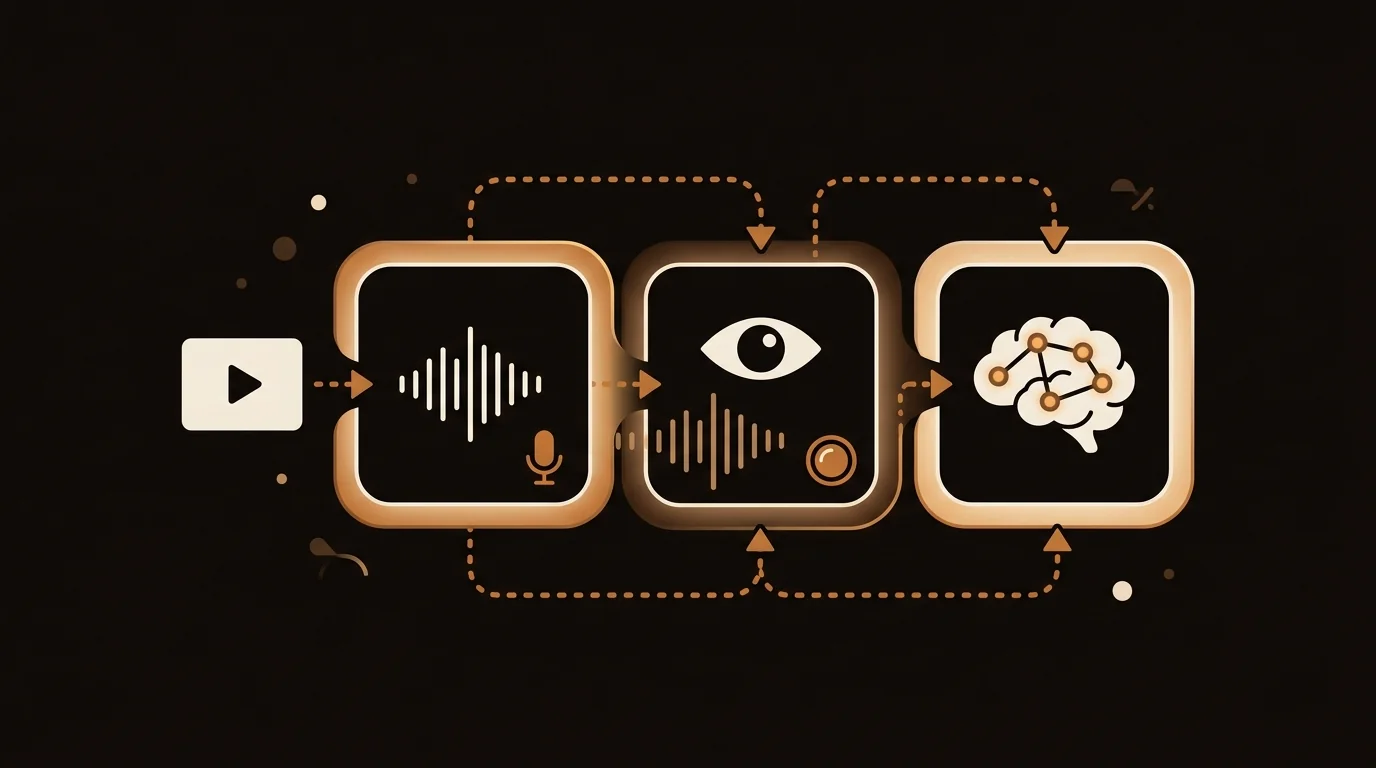
Screen recording on Mac takes two seconds to start once you know the shortcut. Here's every method, including the audio fix most guides skip.
You've likely run into a situation where you needed to record your screen on a Mac — a software walkthrough for a colleague, a bug report for your dev team, a tutorial, or even capturing a video call for later review. The good news: macOS has screen recording built in, no downloads required. The less-obvious part is handling audio and knowing which method fits your use case.
At sipsip.ai, we work with recorded video and audio constantly — and one of the most common upstream steps before transcription is a screen recording that captured a meeting, a lecture, or a presentation. This guide covers every reliable method so you capture exactly what you need.
The Fastest Way: Screenshot Toolbar (Shift+Command+5)
Press Shift+Command+5 on your keyboard. A small floating toolbar appears at the bottom of your screen. This is macOS's built-in capture tool, available on macOS Mojave (2018) and later.
The toolbar shows five icons. The two on the right are for video recording:
- Record Entire Screen (fourth icon) — captures everything visible across all connected displays
- Record Selected Portion (fifth icon) — drag to define a region; only that area records
Before you click Record:
Click Options to configure:
- Save to — change the default from Desktop to any folder or app
- Timer — set a 5- or 10-second countdown before recording starts
- Microphone — select your mic to record your voice alongside the screen (default is None)
- Show Mouse Clicks — displays a black circle when you click, useful for tutorials
Click Record. The toolbar disappears and a stop icon appears in the menu bar.
To stop recording: Click the square stop icon in the menu bar, or press Command+Control+Escape. A thumbnail appears in the corner — click it to open the file immediately, or wait a moment for it to save.
Recordings save as .mov files. On a MacBook Pro M4 recording at 1440p, a 10-minute session produces a file around 200–400 MB depending on screen activity.
Method 2: QuickTime Player
QuickTime is macOS's built-in media player, and it has a capable screen recorder — useful if you want to preview and trim the recording without switching apps.
- Open QuickTime Player (search Spotlight with Command+Space, type "QuickTime")
- Go to File → New Screen Recording
- A recording window appears with a Record button and a dropdown arrow
- Click the dropdown to choose your microphone (same limitation as the Screenshot toolbar — no system audio by default)
- Click the Record button
- Click anywhere on screen to record the full screen, or drag to select a portion, then click Record inside the selection
To stop: click the stop button in the menu bar, or press Command+Control+Escape.
QuickTime saves recordings automatically to ~/Library/ScreenRecordings — or prompts you to choose a location when you close the file.
When to use QuickTime over the Screenshot toolbar: When you want to immediately trim the recording (Edit → Trim) before saving, or when you need to share different resolution exports directly from the app.
Method 3: Recording System Audio (the Part Most Guides Miss)
macOS doesn't natively capture system audio — sounds coming from your speakers or headphones — during screen recording. If you record a video playing in your browser or a notification sound, you'll get silence where that audio should be.
The cleanest free fix: BlackHole, an open-source virtual audio driver.
Setup takes about 5 minutes:
- Download BlackHole from existential.audio (free, 2-channel version works for most use cases, supports Intel and Apple Silicon)
- Install BlackHole — it adds a virtual audio device to your system
- Open Audio MIDI Setup (in Applications → Utilities)
- Click the + button at the bottom left → Create Multi-Output Device
- Check both BlackHole 2ch and your speakers or headphones
- In System Settings → Sound → Output, select the new Multi-Output Device
- Open QuickTime → File → New Screen Recording → dropdown → select BlackHole 2ch as the microphone input
- Record — QuickTime now captures everything coming through your system audio
The trade-off: your Mac's volume control won't work while BlackHole is active as the output. Switch back to your normal output device when you're done recording.
Why this matters for transcription: If you're recording a meeting, webinar, or online lecture to transcribe later, system audio capture is essential — recording only your microphone means you capture just your side of the conversation. Once you have the full audio track, you can drop it into sipsip.ai's video transcriber to get a timestamped transcript automatically.
Method 4: OBS Studio (for Advanced Use Cases)
OBS Studio is a free, open-source tool originally built for live streaming. On macOS, it also works as a powerful screen recorder — and it handles system audio natively without BlackHole.
Best for:
- Recording multiple sources simultaneously (screen + webcam + mic + system audio in one file)
- Streaming live while recording
- High-quality output for YouTube, courses, or professional walkthroughs
Basic setup:
- Download OBS from obsproject.com (free, macOS supported)
- In the Sources panel, click + → Display Capture to add your screen
- Click + again → Audio Output Capture to add system audio
- Configure output settings under Settings → Output → Recording
- Click Start Recording
OBS saves recordings as .mkv by default; change to .mp4 in Settings → Output for broader compatibility.
In our testing at sipsip.ai, OBS on an M3 MacBook Pro handled 1080p screen + webcam + system audio simultaneously with under 3% CPU overhead — barely noticeable during normal use.
Recording a Tutorial or Presentation From a Script
When you narrate a tutorial or walk someone through slides, a script on screen keeps each take smooth and the transcript clean. Teleprompter Online runs free in your browser and scrolls your script at the speed you choose. For a native app, Teleprompter for Mac lets you place the text right under your webcam so your eyes stay close to the lens, with manual control over scroll speed and position. Start the teleprompter, then record with Shift+Command+5 or QuickTime as usual.
After Recording: Getting a Transcript
Screen recordings of meetings, lectures, interviews, and presentations often contain spoken content you'll want in text form — for notes, captions, searchable archives, or accessibility.
Once you have a .mov or .mp4 file, you have a few transcription options:
For meeting recordings (Zoom, Teams, Google Meet): Upload the file to sipsip.ai's meeting transcriber — it handles multi-speaker audio and returns the full transcript, ready to copy or download.
For lecture or presentation recordings: The video transcriber works on any video file. Upload, wait a few minutes, and download the full transcript as a text file.
For audio extracted from a recording: If you only need the spoken track transcribed and want to keep file sizes small, extract the audio first (QuickTime → File → Export → Audio Only), then use the audio transcriber. Audio files process faster and are easier to share.
You can also read the full guide on how to transcribe audio recordings to text if you're working with existing audio files rather than new screen recordings.
Common Fixes
Screen recording permission denied: Go to System Settings → Privacy & Security → Screen Recording. Toggle on the permission for the app (Screenshot, QuickTime, OBS, or your browser). Quit and reopen the app.
No audio in the recording: In the Screenshot toolbar, click Options before recording and confirm a microphone is selected. The default is None — audio won't record unless you explicitly choose a source.
Recording stops unexpectedly: Check available storage. macOS pauses or stops recordings when disk space drops below a threshold. Delete files or move recordings to an external drive.
File too large to share: Open the .mov in QuickTime → File → Export As → choose 720p or 480p. The lower resolution export is typically 60–80% smaller with minimal visible quality loss for screen content.
Shortcut not working: Another app may have claimed Shift+Command+5. Go to System Settings → Keyboard → Keyboard Shortcuts → Screenshots and verify the shortcut is still assigned. Re-enable it if it's been overridden.
Frequently Asked Questions
How do I screen record on a Mac?
Press Shift+Command+5 on your keyboard to open the Screenshot toolbar. Select either 'Record Entire Screen' or 'Record Selected Portion,' then click the Record button. To stop, click the stop icon in the menu bar or press Command+Control+Escape. Recordings save as .mov files to your Desktop by default.
What is the shortcut to screen record on Mac?
The main screen recording shortcut on Mac is Shift+Command+5, which opens the full Screenshot toolbar with all capture options. You can also press Shift+Command+6 to instantly capture a screenshot of the Touch Bar, or use Command+Control+N to open a new QuickTime screen recording directly.
How do I screen record on Mac with audio?
Open the Screenshot toolbar with Shift+Command+5, click Options, then select your microphone under the Microphone section. This captures your voice. To record system audio (sounds playing through your Mac's speakers), you need a free virtual audio driver like BlackHole — macOS doesn't natively support system audio capture in screen recordings.
Where do screen recordings go on Mac?
Screen recordings save to your Desktop by default, named 'Screen Recording [date] at [time].mov.' You can change the save location before recording by opening the Screenshot toolbar (Shift+Command+5), clicking Options, then selecting a different folder under 'Save to.' QuickTime Player recordings save to ~/Library/ScreenRecordings if not manually saved.
How do I stop a screen recording on Mac?
Click the square stop icon in the menu bar at the top right of your screen. Alternatively, press Command+Control+Escape. If you used the Screenshot toolbar, you can also press Shift+Command+5 again and click 'Stop Recording.' The saved file appears as a thumbnail in the corner — click it to preview immediately, or wait for it to save automatically.
Can I screen record on Mac without QuickTime?
Yes. The Screenshot toolbar (Shift+Command+5) is built into macOS and works without opening QuickTime at all. For more advanced features like stream-quality output or direct audio mixing, free tools like OBS Studio work on macOS and require no Apple ecosystem dependencies.
Why is my Mac screen recording not working?
The most common cause is missing Screen Recording permission. Go to System Settings → Privacy & Security → Screen Recording and toggle on the permission for the app you're using. If the problem persists, quit and reopen the app. If the toolbar appears but won't start recording, check available disk space — recordings stop or fail when storage is nearly full.
How do I trim a screen recording on Mac?
Open the screen recording in QuickTime Player, go to Edit → Trim (or press Command+T), drag the yellow handles to define the clip you want to keep, then click Trim. Save with Command+S. For more complex edits — cutting from the middle, adding overlays — drag the file into iMovie, which is free and pre-installed on macOS.
Conclusion
Screen recording on Mac is straightforward once you know the shortcut: Shift+Command+5 opens the Screenshot toolbar and gets you recording in under 10 seconds. For microphone audio, configure it in Options before hitting Record. For system audio, BlackHole is the reliable free solution. For everything else — multi-source recording, streaming, high-bitrate output — OBS fills the gap.
If you're recording to capture spoken content — meetings, lectures, walkthroughs, or interviews — the recording is just step one. Drop the file into sipsip.ai's video transcriber to turn that screen recording into a searchable, editable transcript automatically.
Explore More
- How to Transcribe Audio Recordings to Text — 5 methods tested on identical recordings with accuracy data, so you can choose the right tool for your files.
- Meeting Transcriber — Free Online Tool — Upload a meeting recording and get a speaker-labeled transcript with timestamps in minutes.
- Video Transcriber — Convert Any Video to Text — Works with screen recordings, lectures, and interviews in .mov, .mp4, and .mkv format.
- Audio Transcriber — Fast AI Audio-to-Text — Extract audio from your recording first for faster processing and smaller upload sizes.
Frequently asked questions

With a background spanning advertising and internet, I've launched 8+ apps and built 10+ products across mobile, web, and AI. Now I'm building a system that extracts signal from noise — turning fragmented information into clear, actionable decisions.